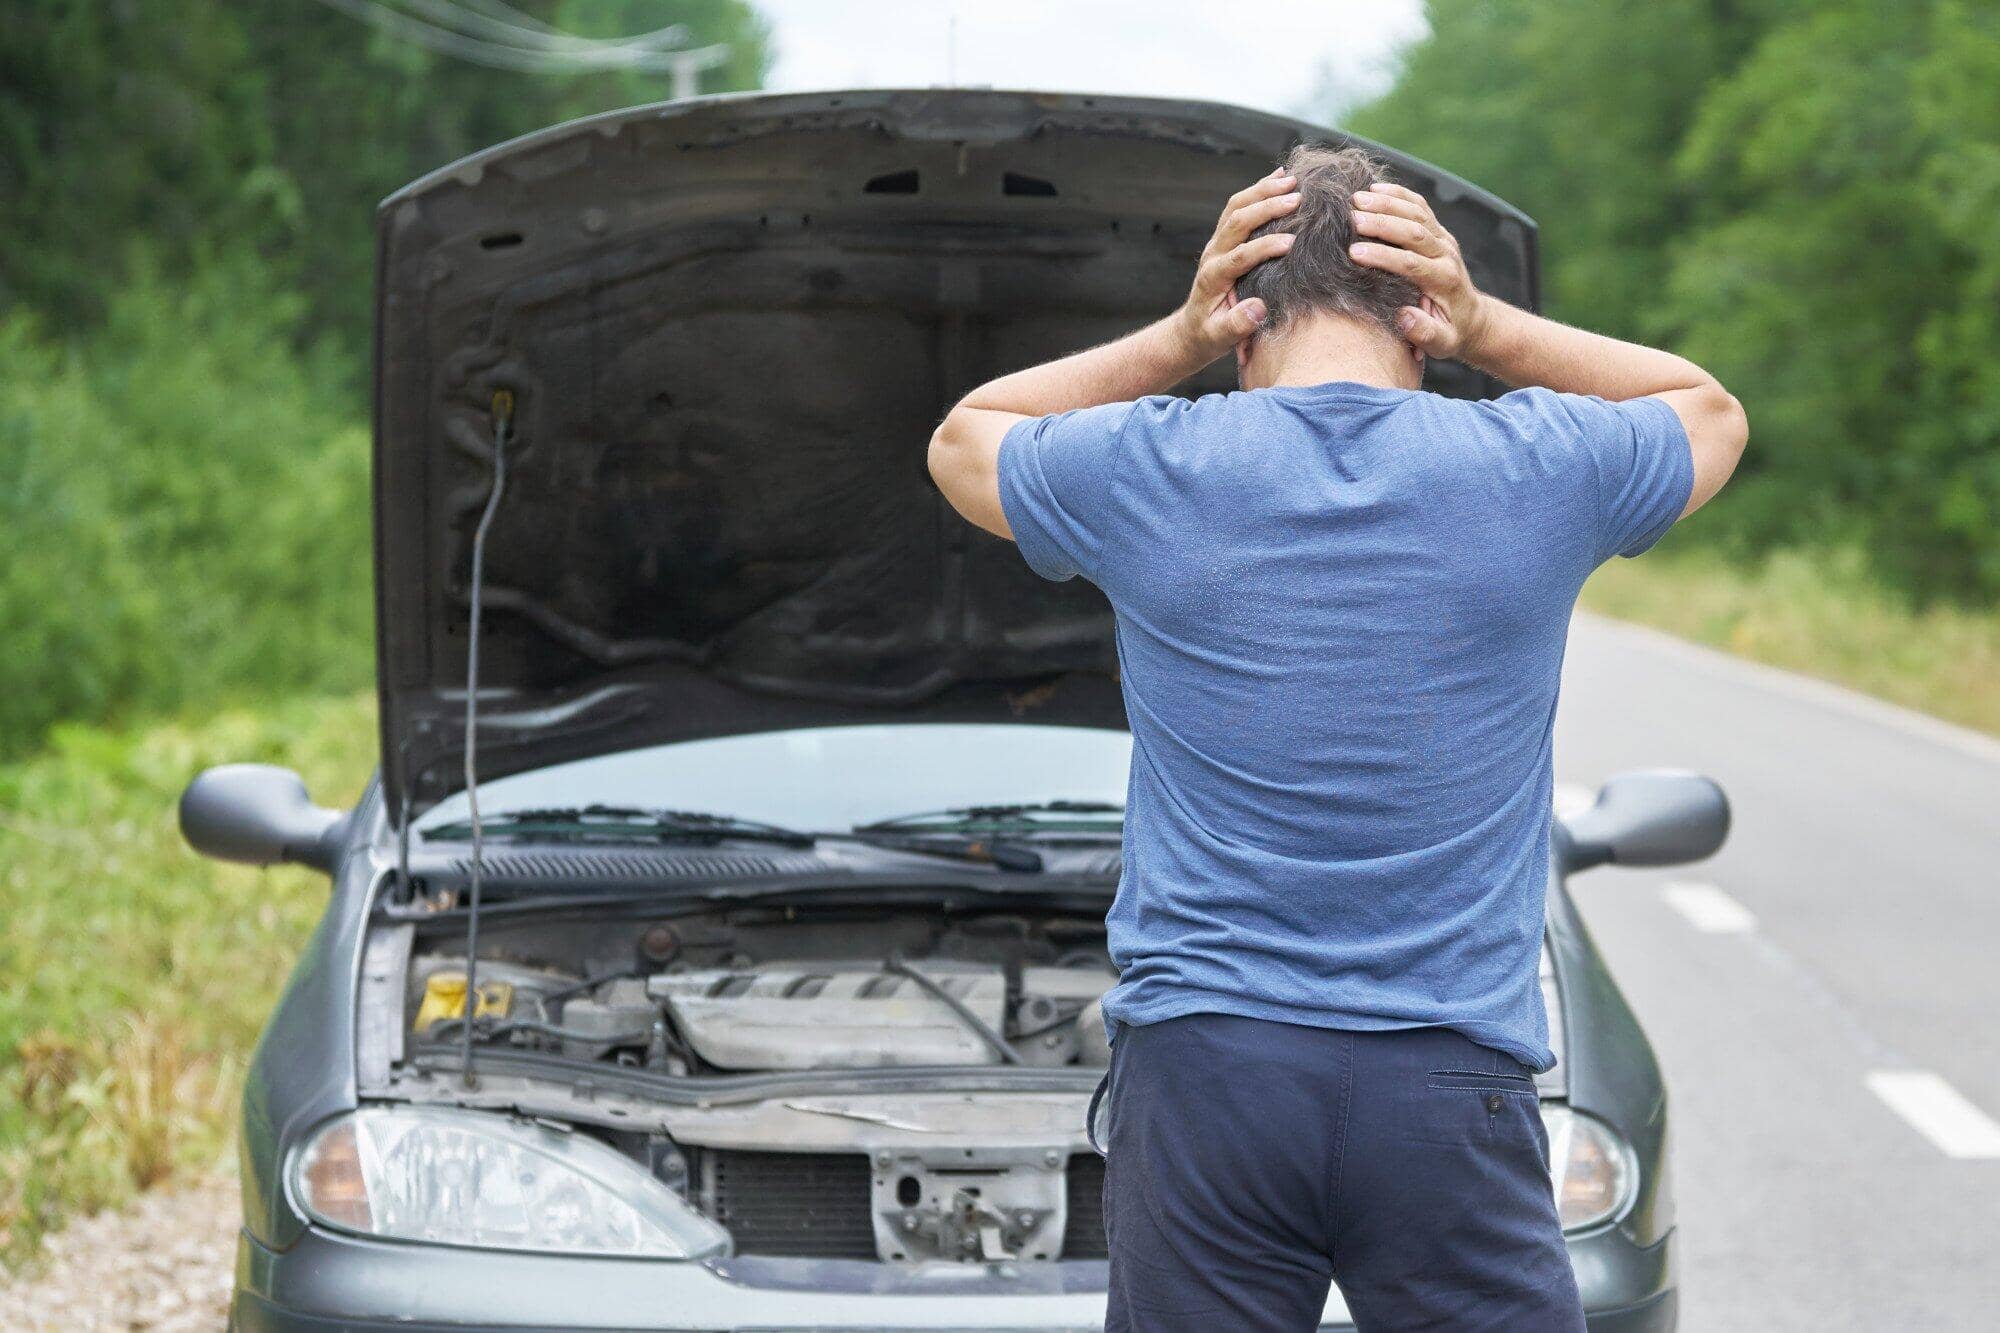
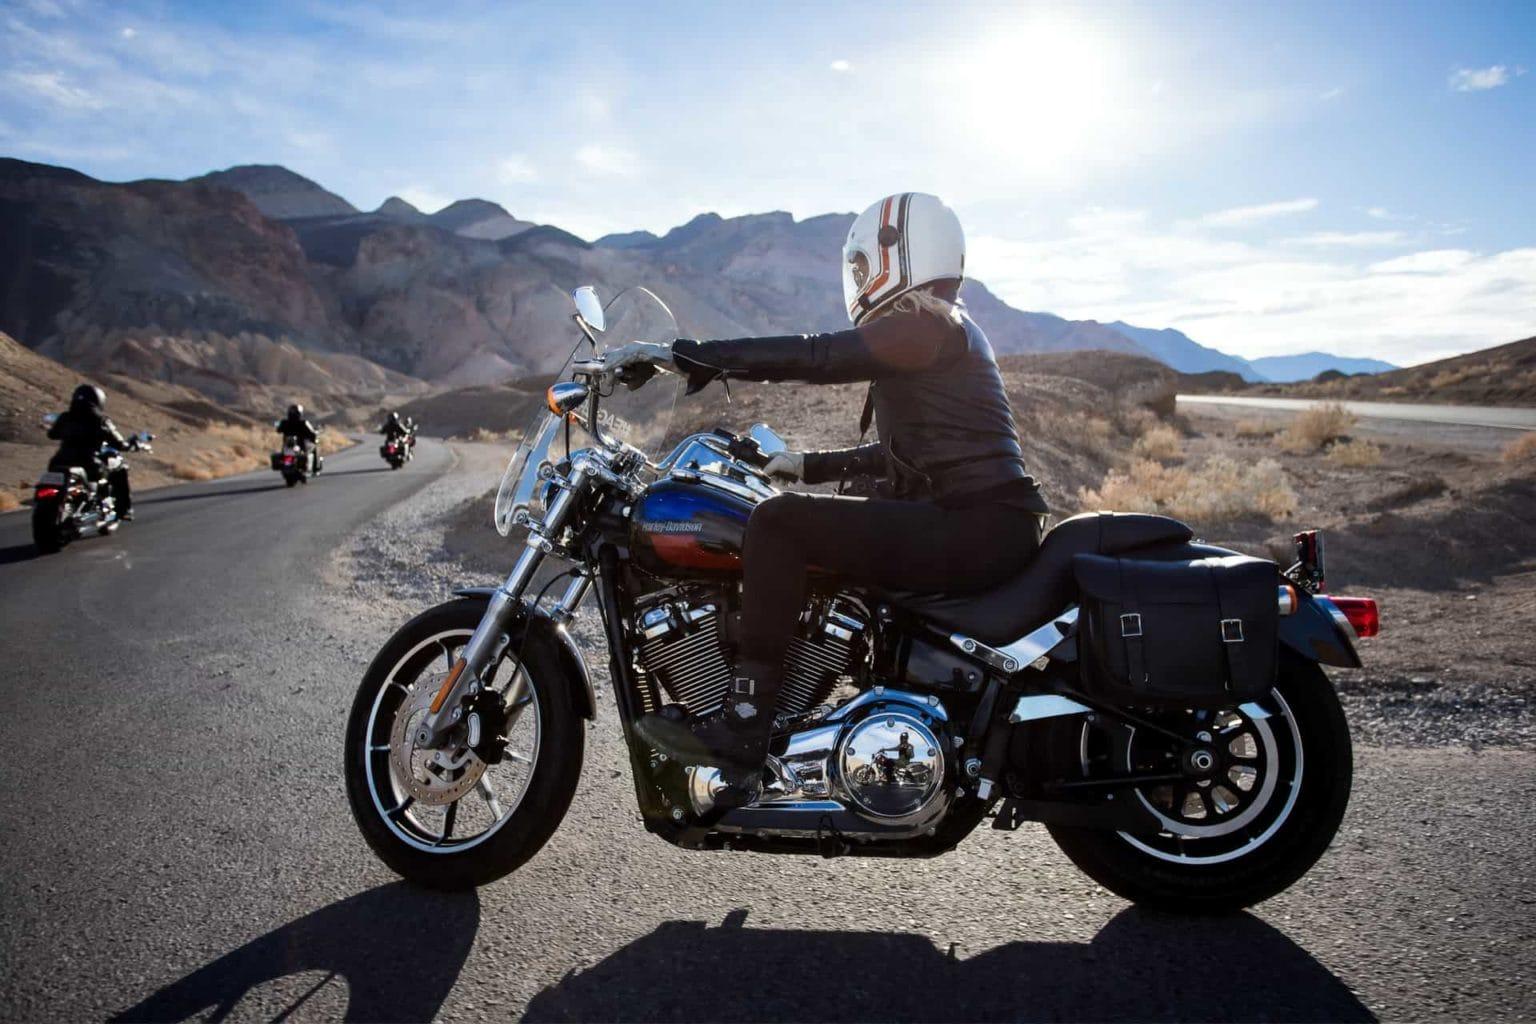
Taking your Harley motorcycle on a long ride is one of the most exhilarating experiences a rider can have. The thrill of the open road, the rumble of the engine, and the sense of freedom are unmatched. However, before you embark on that epic journey, it’s essential to ensure your bike is in top condition. A thorough pre-ride inspection can help you avoid unexpected breakdowns and ensure a safe and enjoyable trip. In this guide, we’ll cover what to check on your Harley before a long ride to keep you cruising smoothly down the road.
Table of Contents
1. Tires: Your Contact with the Road
Tires are arguably the most critical components of your Harley motorcycle when it comes to safety and performance. They are the only part of the bike that touches the road, making them essential for maintaining control, stability, and traction.
Check Tire Tread and Condition
Start by inspecting the tread depth on both tires. Worn-out tires with insufficient tread can lead to reduced grip, especially in wet conditions. Use a tread depth gauge or the “penny test” to check for adequate tread. If the tread is worn down to the wear indicators or the tire looks uneven, it’s time for a replacement.
- Tread Depth: Ensure that the tire tread is not below the recommended depth (usually 2/32 inches). If it is, replace the tires before your trip.
- Inspect for Damage: Look for any cracks, punctures, or embedded objects in the tire. Even small issues can lead to a blowout on the road.
Check Tire Pressure
Proper tire pressure is crucial for handling, fuel efficiency, and tire longevity. Over-inflated or under-inflated tires can affect your bike’s stability and comfort.
- Recommended Pressure: Refer to your Harley motorcycle’s owner’s manual for the correct tire pressure. Check the pressure with a reliable tire gauge when the tires are cold, and adjust as needed.
- Adjust for Load: If you’re carrying extra luggage or a passenger, you may need to adjust the tire pressure accordingly. Overloading your bike without adjusting the tire pressure can lead to premature wear or even tire failure.
2. Fluids: The Lifeblood of Your Harley
Fluids are essential for keeping your Harley’s engine, transmission, and braking systems operating smoothly. Before a long ride, ensure all fluids are at the correct levels and in good condition.
Engine Oil
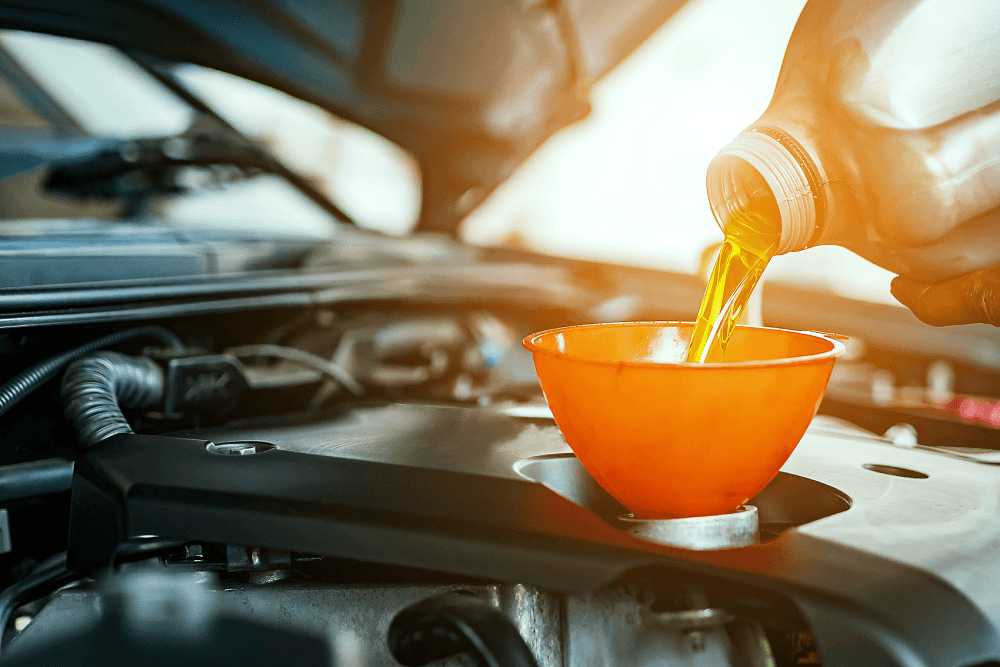
Engine oil lubricates the internal components of your engine, reducing friction and preventing overheating. Running low on oil or using dirty oil can cause severe engine damage.
- Check Oil Level: Use the dipstick to check the oil level. The oil should be between the “low” and “full” marks. If it’s low, top it off with the appropriate type of oil for your Harley motorcycle.
- Inspect Oil Condition: Check the color and consistency of the oil. Fresh oil should be amber in color, while dirty oil may appear dark or gritty. If the oil looks dirty, consider changing it before your ride.
Transmission and Primary Fluid
Transmission and primary fluids are vital for the smooth operation of your bike’s transmission and clutch.
- Check Fluid Levels: Inspect the transmission and primary fluid levels using the appropriate dipstick or inspection window. Ensure they are within the recommended range.
- Fluid Condition: Similar to engine oil, the transmission and primary fluid should be clean and free of debris. If the fluids are dirty or contaminated, change them before your trip.
Brake Fluid
Brake fluid is essential for the proper functioning of your braking system. Low or contaminated brake fluid can lead to brake failure, putting you at serious risk.
- Check Brake Fluid Level: Inspect the brake fluid reservoirs for both front and rear brakes. The fluid level should be between the “min” and “max” marks.
- Fluid Clarity: Brake fluid should be clear or slightly amber. If it appears dark or murky, it’s time to replace it.
Coolant (If Applicable)
If your Harley motorcycle is liquid-cooled, coolant is crucial for regulating the engine temperature and preventing overheating.
- Check Coolant Level: Inspect the coolant level in the overflow tank. It should be between the “low” and “full” marks. If it’s low, top it off with the correct type of coolant.
- Inspect for Leaks: Look for any signs of coolant leaks around the radiator, hoses, and engine. Address any leaks before hitting the road.
3. Brakes: Stopping Power Is Key
Your Harley’s braking system is vital for safety, especially on a long ride where you may encounter varying road conditions and unexpected obstacles. Ensuring your brakes are in top condition is a must before any journey.
Inspect Brake Pads
Brake pads wear down over time and need to be replaced regularly to maintain optimal braking performance.
- Check Pad Thickness: Inspect the brake pads for wear. If the pad material is less than 1/8 inch thick, it’s time for a replacement.
- Listen for Squeaks: Squeaking or grinding noises when braking are signs that your pads may be worn down and need replacement.
Test Brake Functionality
Before heading out, test the brakes to ensure they are functioning correctly.
- Responsive Braking: The brake lever and pedal should feel firm and responsive. If they feel spongy or unresponsive, there may be air in the brake lines, or the fluid may need replacing.
- Brake Discs: Inspect the brake discs (rotors) for any signs of warping or grooves. Damaged discs can reduce braking efficiency and should be replaced.
4. Electrical System: Stay Powered Up
A properly functioning electrical system is essential for starting your bike, keeping your lights on, and powering any accessories you might have. Before a long ride, take the time to check your Harley motorcycle’s electrical components.
Battery
Your motorcycle’s battery is the heart of the electrical system, providing the power needed to start the engine and run electronic components.
- Check Battery Voltage: Use a multimeter to check the battery voltage. A fully charged battery should read around 12.6 to 12.8 volts. If the voltage is low, charge the battery or consider replacing it.
- Inspect Battery Terminals: Ensure the battery terminals are clean and free of corrosion. Tighten any loose connections.
Lights and Indicators
Properly functioning lights are crucial for visibility and communication with other drivers on the road.
- Headlights: Check that both high and low beams are working correctly. Adjust the aim if necessary to ensure proper road illumination.
- Brake Lights and Turn Signals: Test the brake lights and turn signals to ensure they are functioning properly. Replace any burnt-out bulbs.
- Hazard Lights: Ensure your hazard lights are working in case of an emergency situation.
5. Drive Belt or Chain: Power Transfer to the Wheels
The drive belt or chain on your Harley motorcycle is responsible for transferring power from the engine to the rear wheel. A well-maintained belt or chain ensures smooth power delivery and reduces the risk of a breakdown.
Inspect the Drive Belt
Harley-Davidson motorcycles typically use a drive belt, which requires less maintenance than a chain but still needs regular inspection.
- Check for Wear: Inspect the drive belt for any signs of wear, cracks, or fraying. If you notice any damage, replace the belt before your trip.
- Tension Adjustment: Ensure the belt tension is within the recommended range specified in your owner’s manual. An overly tight or loose belt can lead to premature wear or failure.
Inspect the Chain (If Applicable)
If your Harley uses a chain drive, regular maintenance is essential to keep it in good condition.
- Chain Tension: Check the chain tension and adjust it according to the specifications in your manual. A loose chain can slip, while a tight chain can cause excessive wear.
- Lubrication: Lubricate the chain with a quality chain lube to reduce friction and prevent rust. Wipe off any excess lubricant to avoid attracting dirt and debris.
6. Suspension: Smooth Out the Ride
Your Harley’s suspension system plays a critical role in ride comfort and handling. Ensuring it’s in top condition is essential for a long trip.
Inspect Suspension Components
Check the front forks and rear shocks for any signs of leaks, damage, or wear.
- Fork Seals: Inspect the front fork seals for leaks. Leaking fork seals can lead to reduced suspension performance and need to be replaced.
- Rear Shocks: Check the rear shocks for any signs of oil leaks or damage. If the shocks are not functioning correctly, they should be serviced or replaced.
Adjust Suspension Settings
If your Harley motorcycle has adjustable suspension, set it according to your load and riding style. Proper suspension settings can significantly improve ride comfort and handling, especially on long rides.
7. Final Pre-Ride Checks
Before you set off on your long ride, perform a few final checks to ensure everything is in order.
Check All Fasteners
Go over your motorcycle and check that all bolts, nuts, and fasteners are secure. Vibrations from riding can sometimes loosen components, so it’s important to make sure everything is tight.
Test Ride
Take your Harley for a short test ride around the block to ensure everything is functioning correctly. Pay attention to how the bike feels and listen for any unusual noises.
Pack an Emergency Kit
Finally, prepare an emergency kit that includes basic tools, a tire repair kit, a flashlight, and any other essentials you might need in case of a breakdown.
Conclusion
A long ride on your Harley motorcycle can be one of the most rewarding experiences for any rider. By taking the time to perform these essential pre-ride checks, you can ensure your bike is ready to handle the journey ahead. Whether you’re cruising down the highway or exploring scenic backroads, you’ll have the peace of mind knowing that your Harley is in top condition, allowing you to focus on enjoying the ride. Safe travels!




:max_bytes(150000):strip_icc()/GettyImages-522272311-5949bdc15f9b58d58a035319.jpg)
